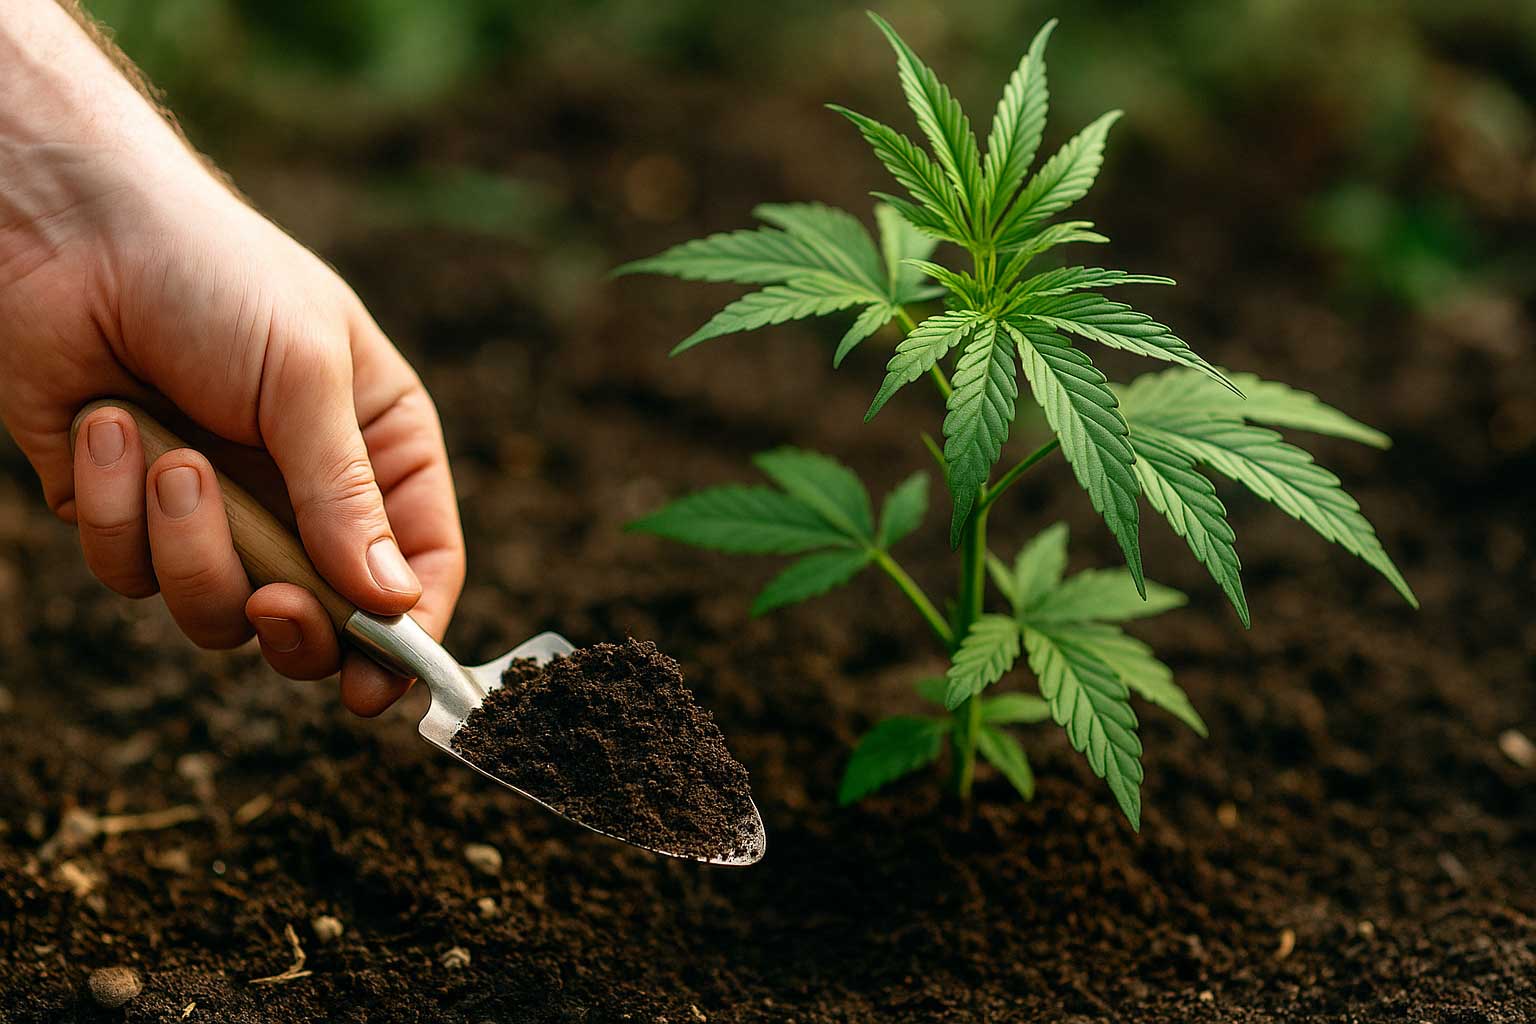
How to Choose the Right Soil for Healthy Cannabis Growth
Great cannabis starts with great soil. The right mix supports strong roots, steady nutrition, and stress-free growth from seedling to harvest. This beginner guide explains what makes a good cannabis soil, simple mixes you can use, and common mistakes to avoid.
Educational content for adults in legal regions. Always follow local laws and cultivate responsibly.
🌱 What Good Cannabis Soil Looks Like
- Light and airy: allows roots to breathe; resists compaction.
- Well-drained: holds moisture but never stays soggy.
- Gently nutritious: enough food for seedlings/veg without burning.
- Correct pH: 6.0–7.0 for best nutrient uptake.
- Biologically active: beneficial microbes help unlock nutrients.
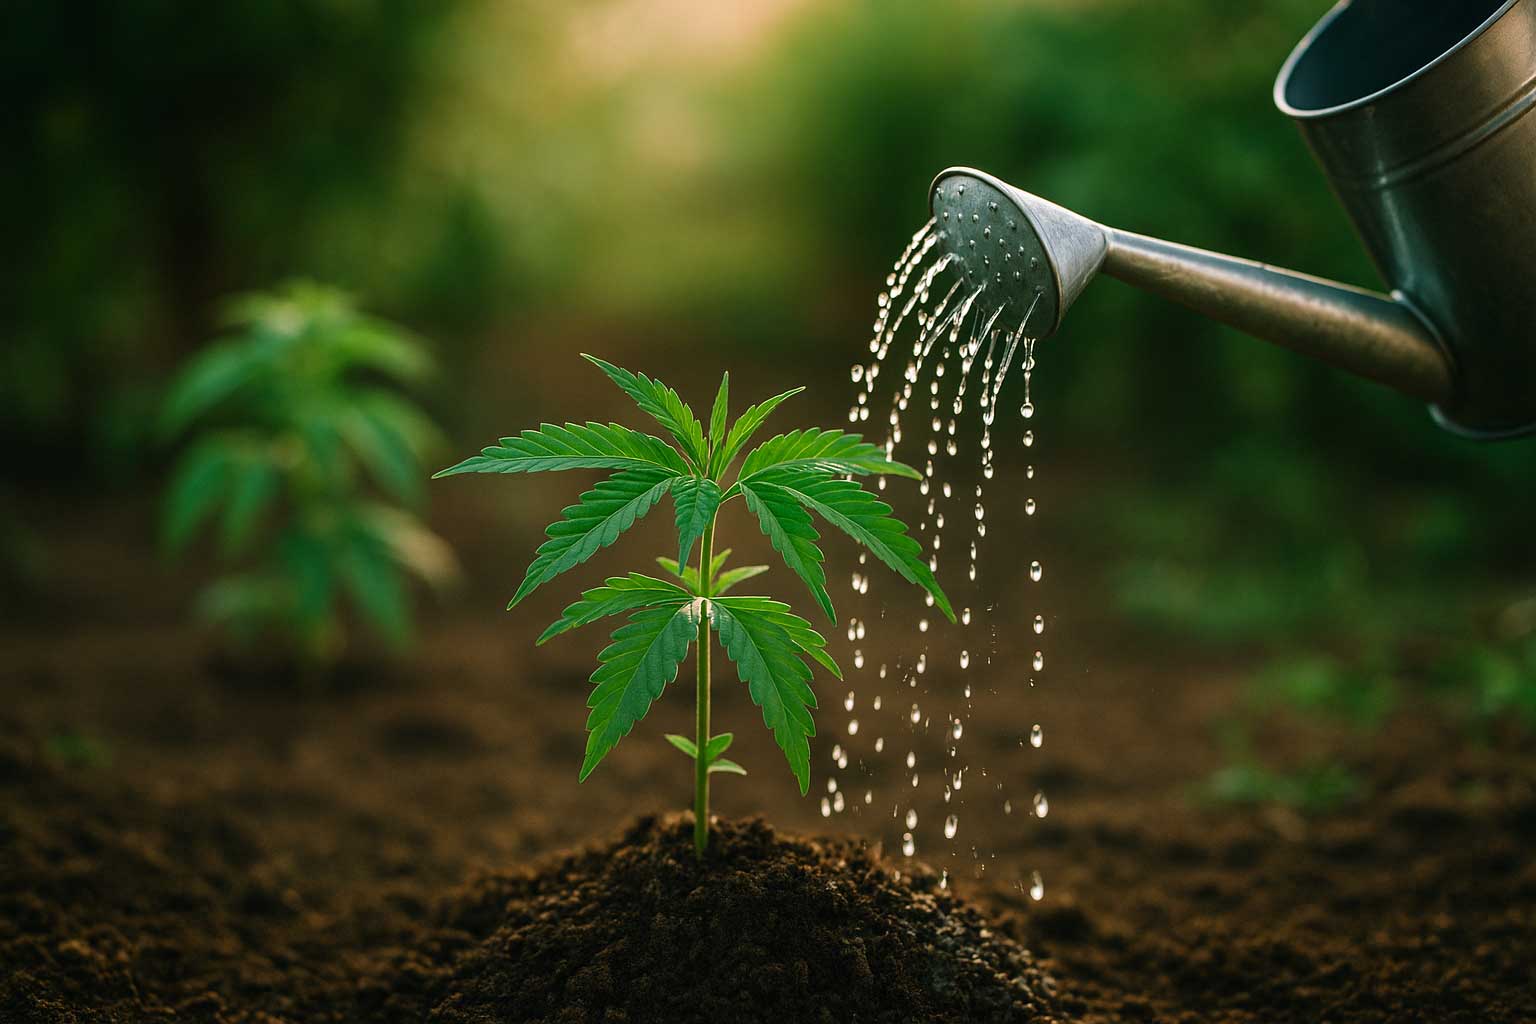
🧪 pH & Water Basics
Keep feed water and occasional runoff between pH 6.0–7.0 for soil. If growth stalls despite feeding, check pH first — it often explains yellowing or slow growth.
🧺 Ready-Made vs DIY Soil Mixes
Option A: Ready-Made “Light” Soil
Choose a bagged potting soil labeled “light” or “seedling” with perlite added. It’s gentle for young plants and easy for beginners.
Option B: DIY Beginner Mix (Easy & Reliable)
- 50% quality potting soil
- 25% perlite (air/ drainage)
- 20% coco coir (water retention + air)
- 5% worm castings (gentle nutrients + microbes)
Moisten evenly before use. This mix is forgiving and supports fast vegetative growth.
Option C: Living “Super Soil” (Minimal Bottled Nutrients)
Blend a quality base soil with composts and organic amendments, then let it “cook” for 3–4 weeks. Feed mostly plain, pH’d water after transplant. Advanced but very rewarding.
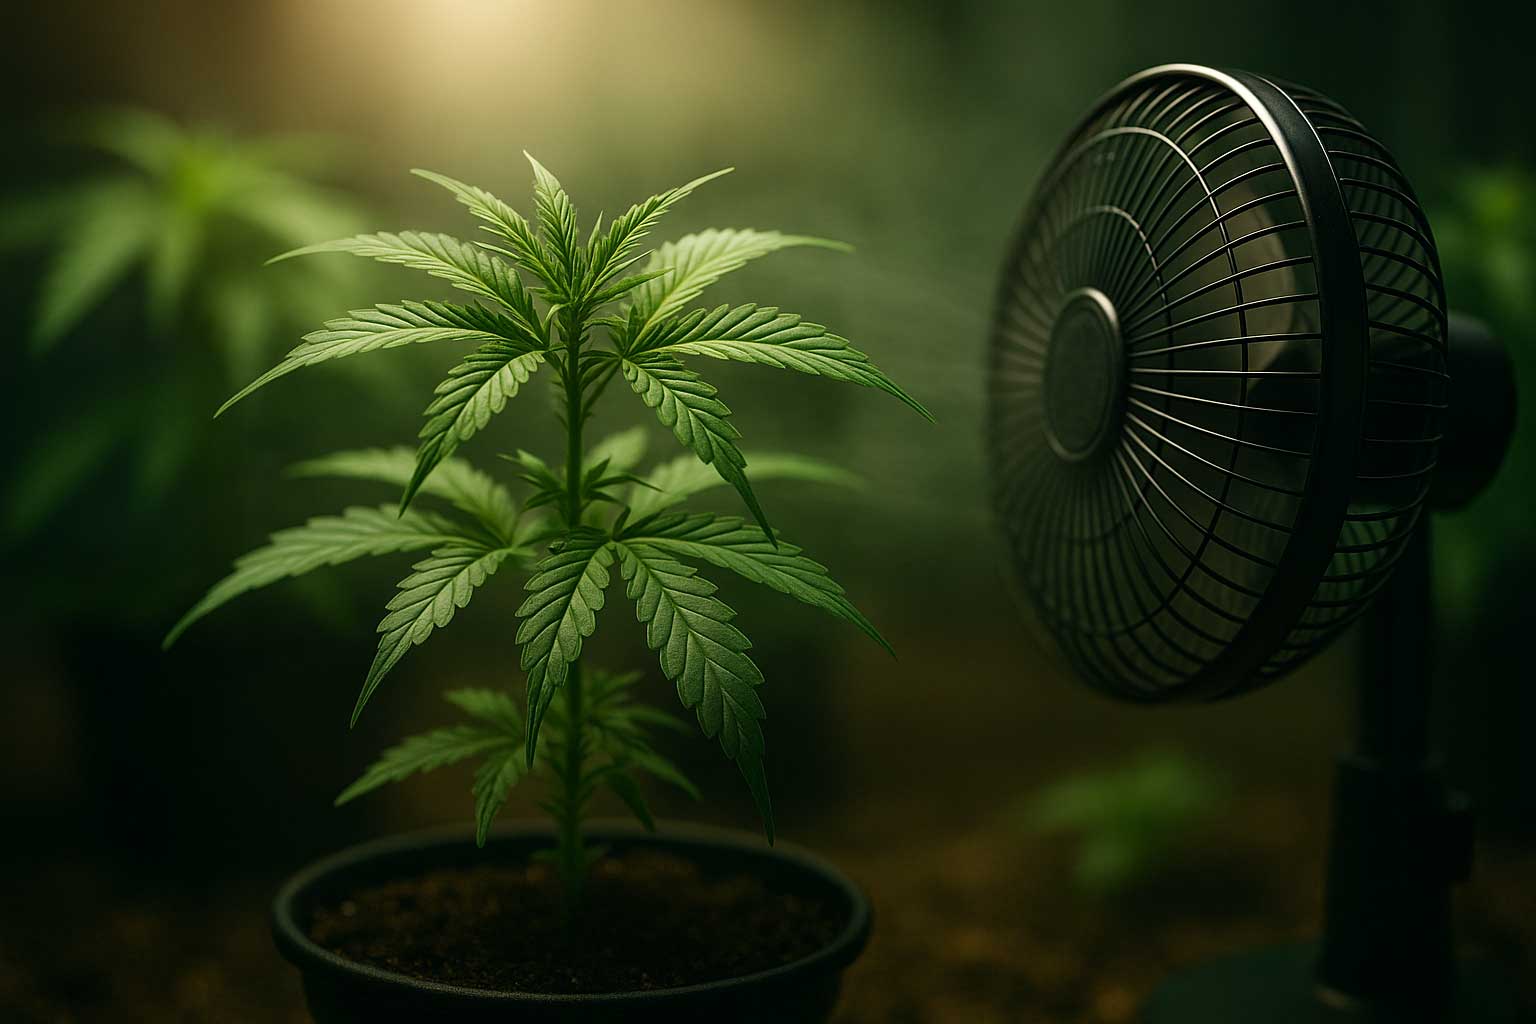
🪴 Pot Types & Drainage Tips
- Fabric pots: excellent airflow; help prevent overwatering; great for beginners.
- Plastic pots: retain moisture longer; be extra careful with drainage holes and watering volume.
- Sizing: Photo cultivars often thrive in 5–7 gal for indoor; autos in 3–5 gal depending on veg time/size.
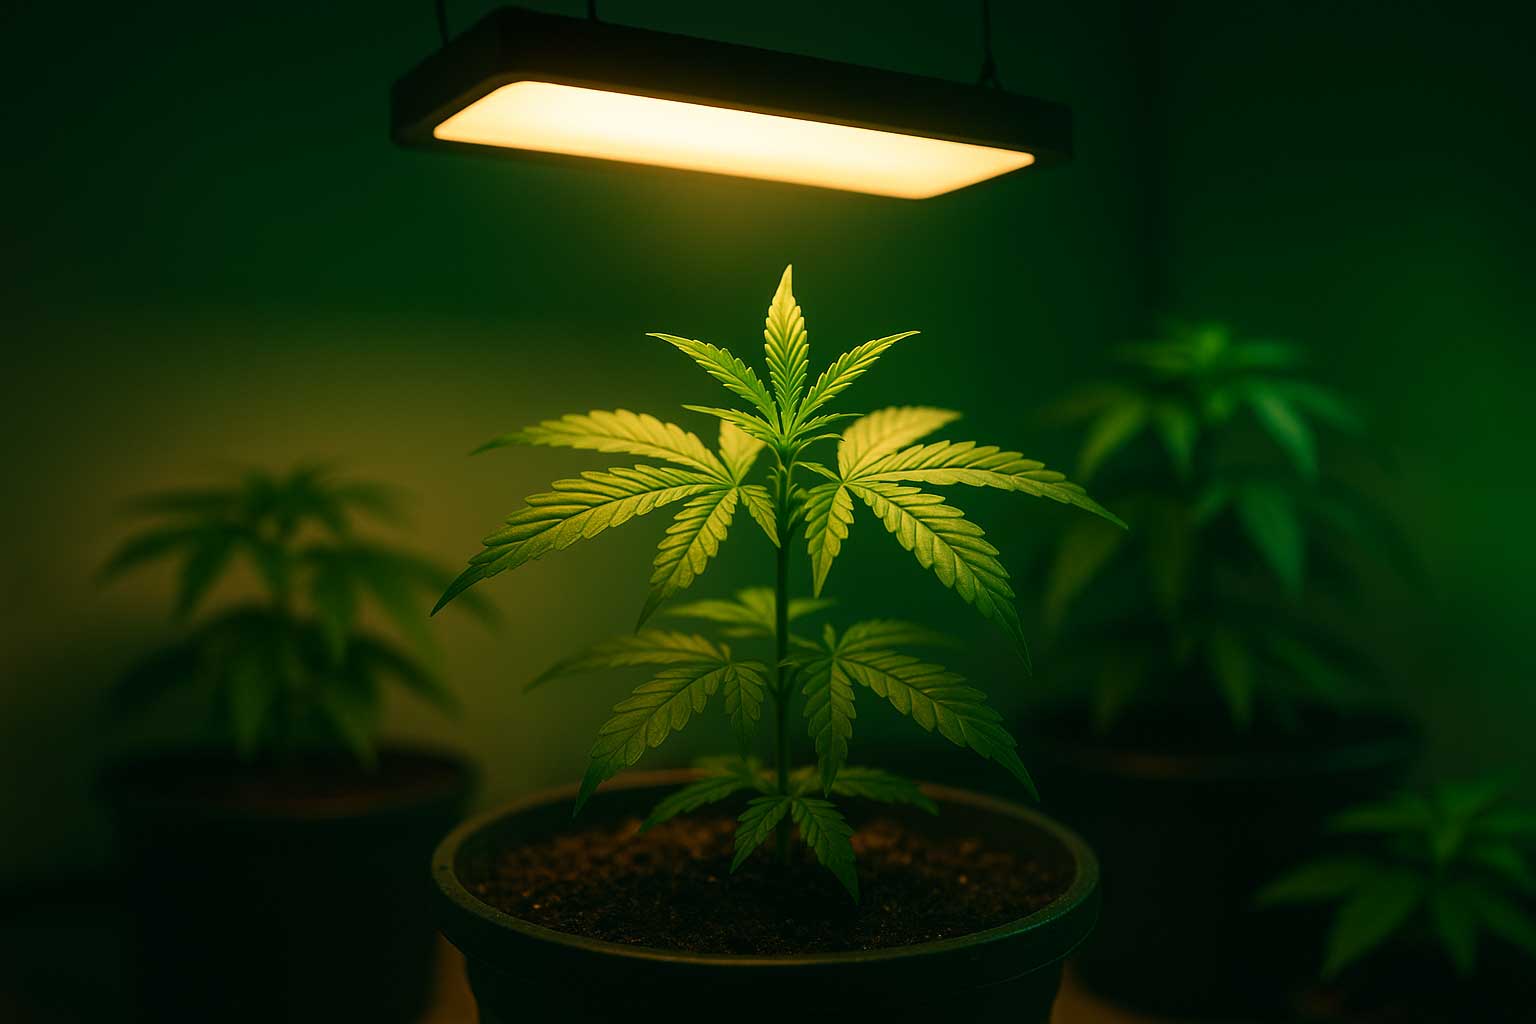
🌿 Feeding in Soil (Simple Plan)
- Seedlings: plain pH’d water; avoid strong nutrients.
- Vegetative: introduce a gentle, N-forward feed at ~50% of label strength; observe 7–10 days.
- Flower: reduce N; increase P/K; continue light feeding and watch tips to avoid burn.
Signs you’re overfeeding: dark green, rigid leaves and burnt tips. Dial back strength or frequency.
🚫 Common Soil Mistakes (and Easy Fixes)
- Compacted soil: add more perlite (10–30%) and avoid pressing soil down.
- Staying soggy: ensure drainage holes; use fabric pots; let top 2–3 cm dry before watering.
- High pH drift: check runoff; flush with pH-balanced water; resume light feeding in range.
- Too “hot” soil for seedlings: transplant into a lighter mix or cut with coco/perlite.
📊 Quick Comparison: Soil vs Coco vs Hydro
| Medium | Difficulty | Pros | Considerations |
|---|---|---|---|
| Soil | Beginner-friendly | Forgiving; rich biology; great flavor potential | Dry-back slower; easier to overwater |
| Coco | Intermediate | Fast growth; high oxygen to roots | Needs frequent, lighter feeds; pH 5.8–6.2 |
| Hydro | Advanced | Very rapid growth; precise control | More monitoring; higher risk if systems fail |
🧰 Two Easy Recipes You Can Trust
Light Mix (Seedling → Early Veg)
- 60% light potting soil
- 25% perlite
- 10% coco coir
- 5% worm castings
Airy Veg Mix (Faster Growth)
- 50% quality potting soil
- 30% perlite
- 15% coco coir
- 5% compost or castings
Transplant to final pots before flower to reduce stress.